| I start with a block of wood 3X2X6 | |
| Next I pre drill the blank to remove some material. | |
 |
Then the blank is placed in this fixture for various cuts to form the inlet-ted cavity. |
 |
Next several passes with the router at many different angles. |
 |
Now a 1/2 inch mortise for the grip tang for the small frame or the drill press for the large frame models. |
 |
Draw the pattern on the blank from template or custom design and cut outline on band-saw. |
 |
Cut a taper on both sides of the blank to remove excess material. |
 |
A rough cut grip ready for all the external shaping which is all done by hand. |
 |
Top view of the same grip in the rough. |
 |
Once the finish shaping is done all that is left is the finish itself. |
 |
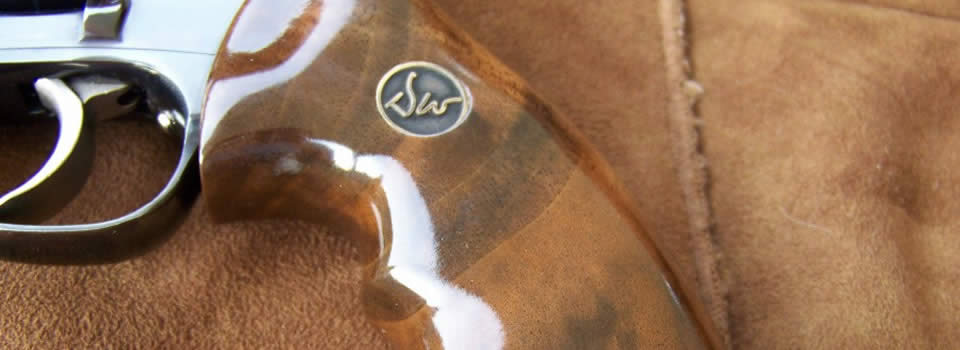
This grip has 6 to 10 coats of a satin polyurethane finish. |
 |
Other side of same grip.Satin and Gloss finishes are available as well as an oil finish however the oil finish takes much longer to dry slowing delivery time. |
This is the basic process used to build all of my grips although techniques do vary from grip to grip. Obviously not all the pictures were of the same grip and were for demo purposes only. The actual shaping of the grips is done by hand with various tools to create a custom one of a kind grip. Thanks for looking.